


If you're thinking about purchasing a Murphy bed but aren't sure about the installation and bed building process, this step-by-step guide has you covered.
It's simple to start. The only tool required to assemble a Lori Bed is a power drill, which can be purchased from many online retailers for $30 or less. No prior woodworking experience is required, and you don't need to be a DIY guru to assemble and install the frame easily.
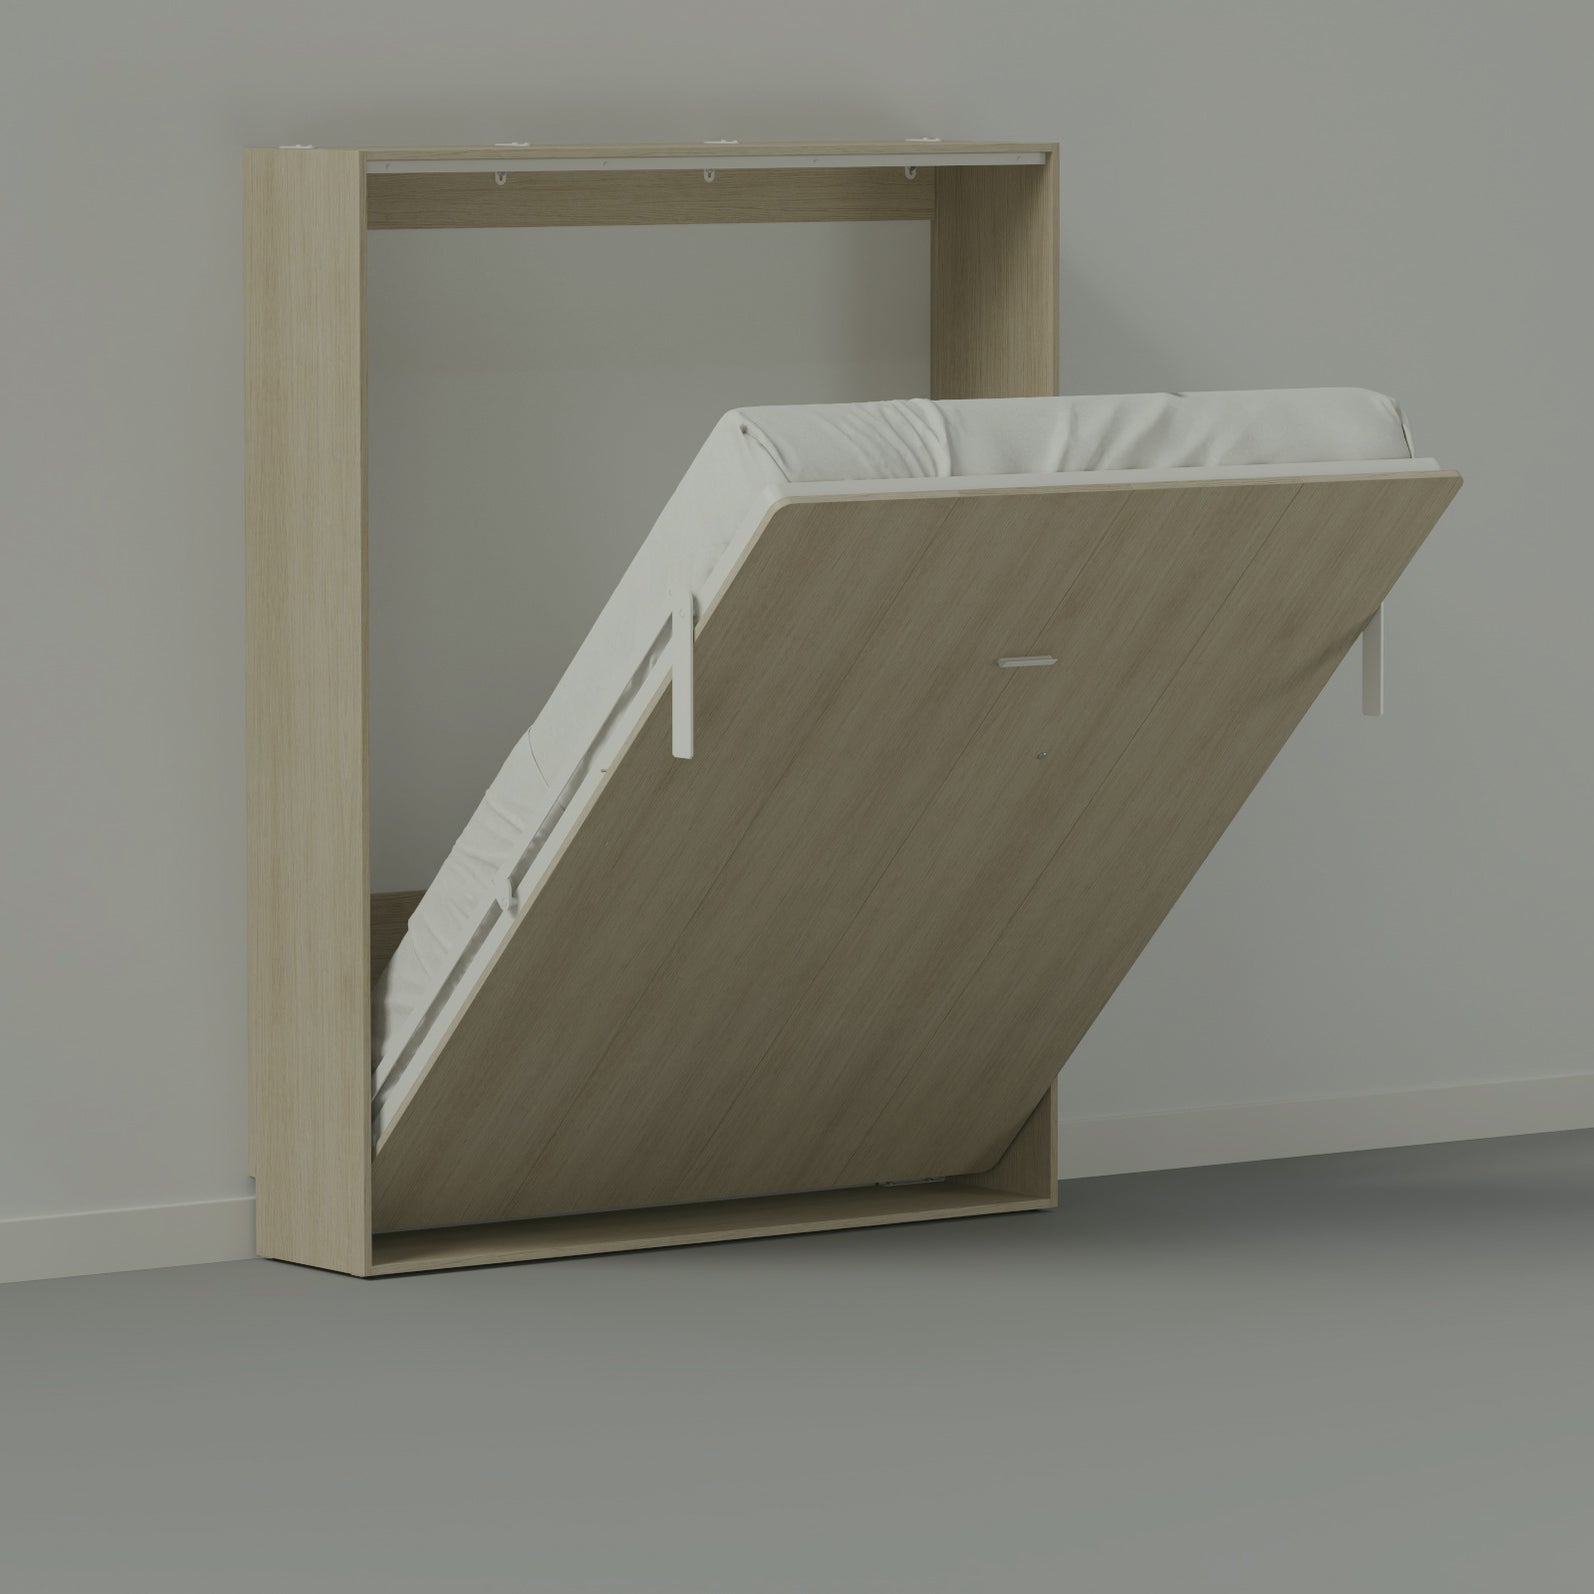
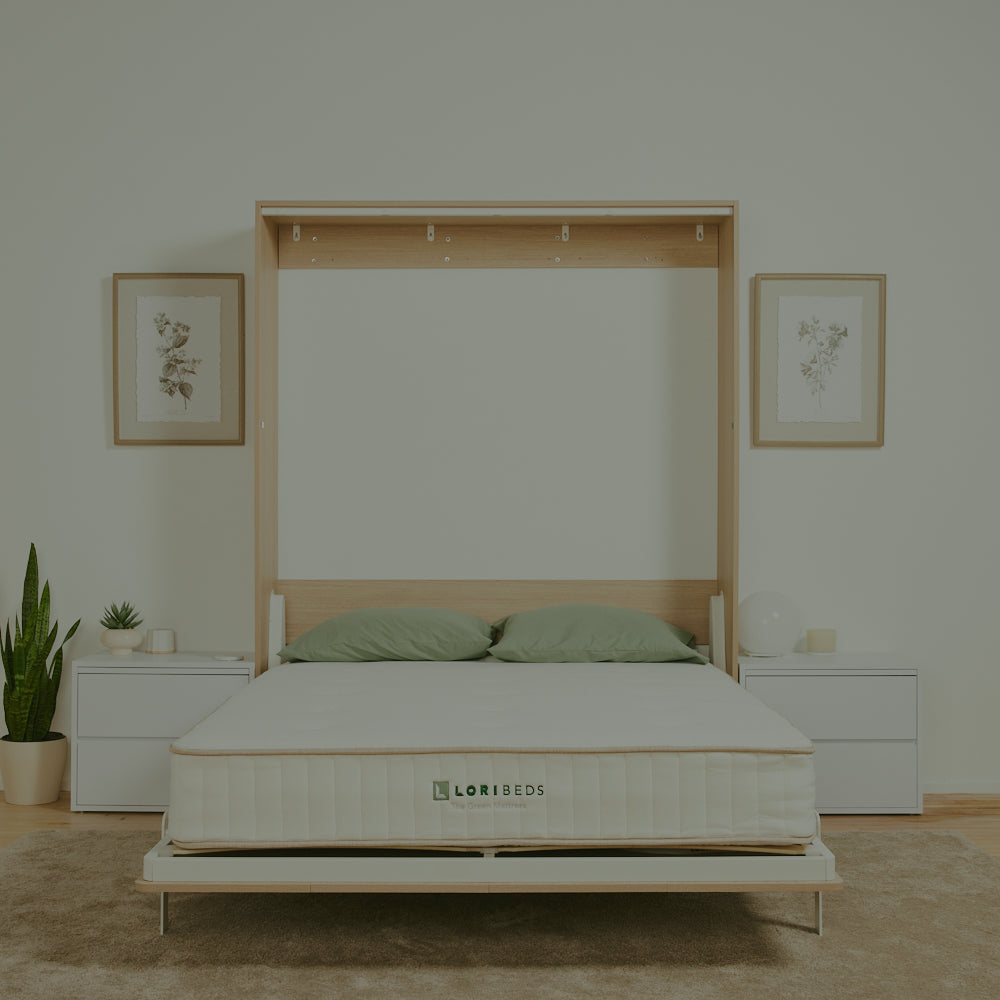
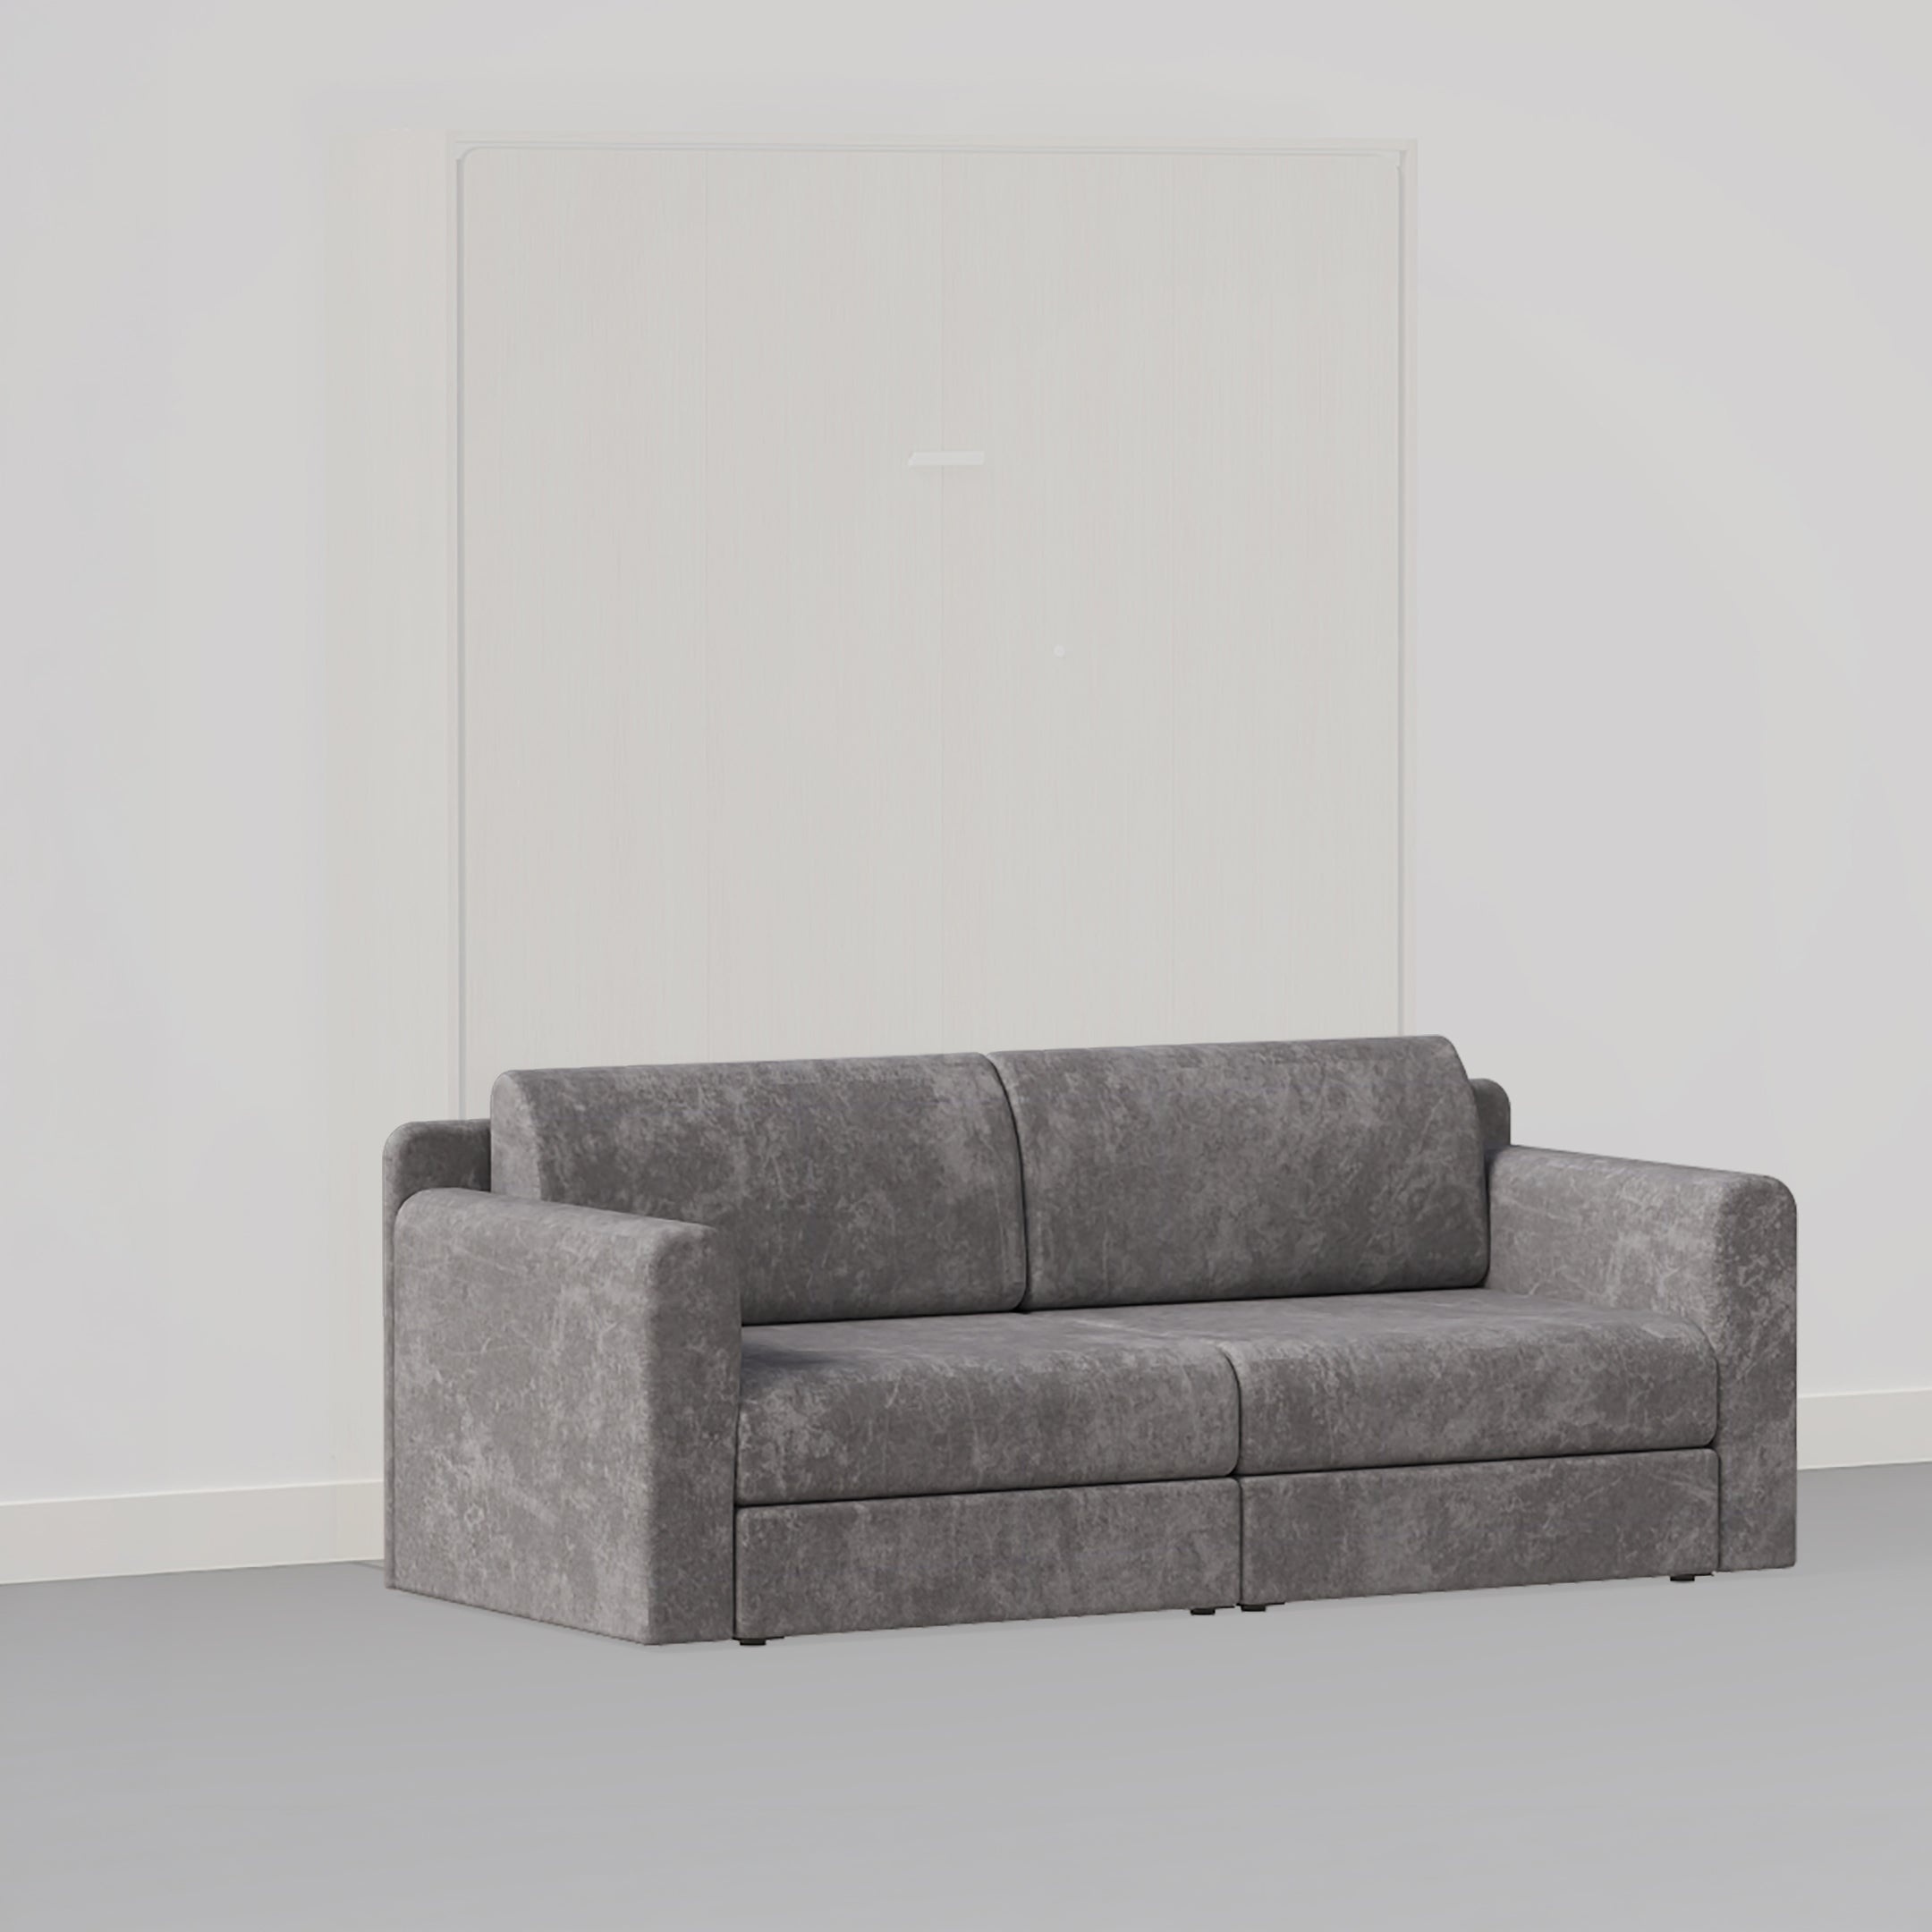
Unlike other Murphy beds on the market, the Lori Bed has no mechanical aids for lifting and lowering the platform, making installation that much smoother and safer because it doesn't involve coiled springs. It's a mechanism-free solution that can be lifted and lowered by hand using your lifting partner's strength and your own.
Lori Beds are also a great option if you're concerned about preserving your floors, baseboard, and molding because it doesn't have a lifting mechanism that needs to be anchored to the floor to create tension near the bed's base to lift the mattress.
The bed uses a standalone platform that only attaches to the cabinet when it's in the upright position, meaning there's very little weight, if any, pulling against the wall.
Get the best wall beds for your spare bedroom today!
TABLE OF CONTENTS
Your Bed Building Tool Kit
Your Bed Building Guide
Get Ready To Admire Your Bed Building Work
Your Bed Building Tool Kit

Here's a list of the equipment you'll want to have around when installing your Murphy bed:
- Safety equipment. Gloves, protective eyewear, earplugs, and dust masks make woodworking safer and more comfortable.
- Power drill for fastening screws and drilling a few pilot holes
- Standard drill bits (we include these in the Lori Bed kit)
- Stud finder
- Measuring tape, pencil, level (there's a free level app on your smartphone), etc. These are not strictly required but may come in handy.
- Optional: paint or stain, sandpaper, brushes, wood glue, etc., for finishing your project
Pro tip: If you plan on painting or staining your Murphy bed, Lori Bed recommends completing wood finishing before the installation.
Take a look at our available vertical and horizontal Murphy beds now!
Your Bed Building Guide
Building a bed can be a rewarding project, especially when it helps optimize your living space. This guide provides detailed Murphy bed plans, offering practical steps and tips to create a space-saving bed that suits your needs.
Cabinet Side Assembly
The first step in building a bed using your Murphy bed kit is to assemble the cabinet sides by attaching trim pieces.
Layout the materials side-by-side on a workspace. Attach the cabinet trim to the cabinet sides using 1-inch screws. Each cabinet side will use 16 screws. You'll need to make two mirror-image assemblies, one for the left side of your cabinet and one for the right. The alignment of these pieces creates the baseboard notch, so make sure those pieces line up nicely.
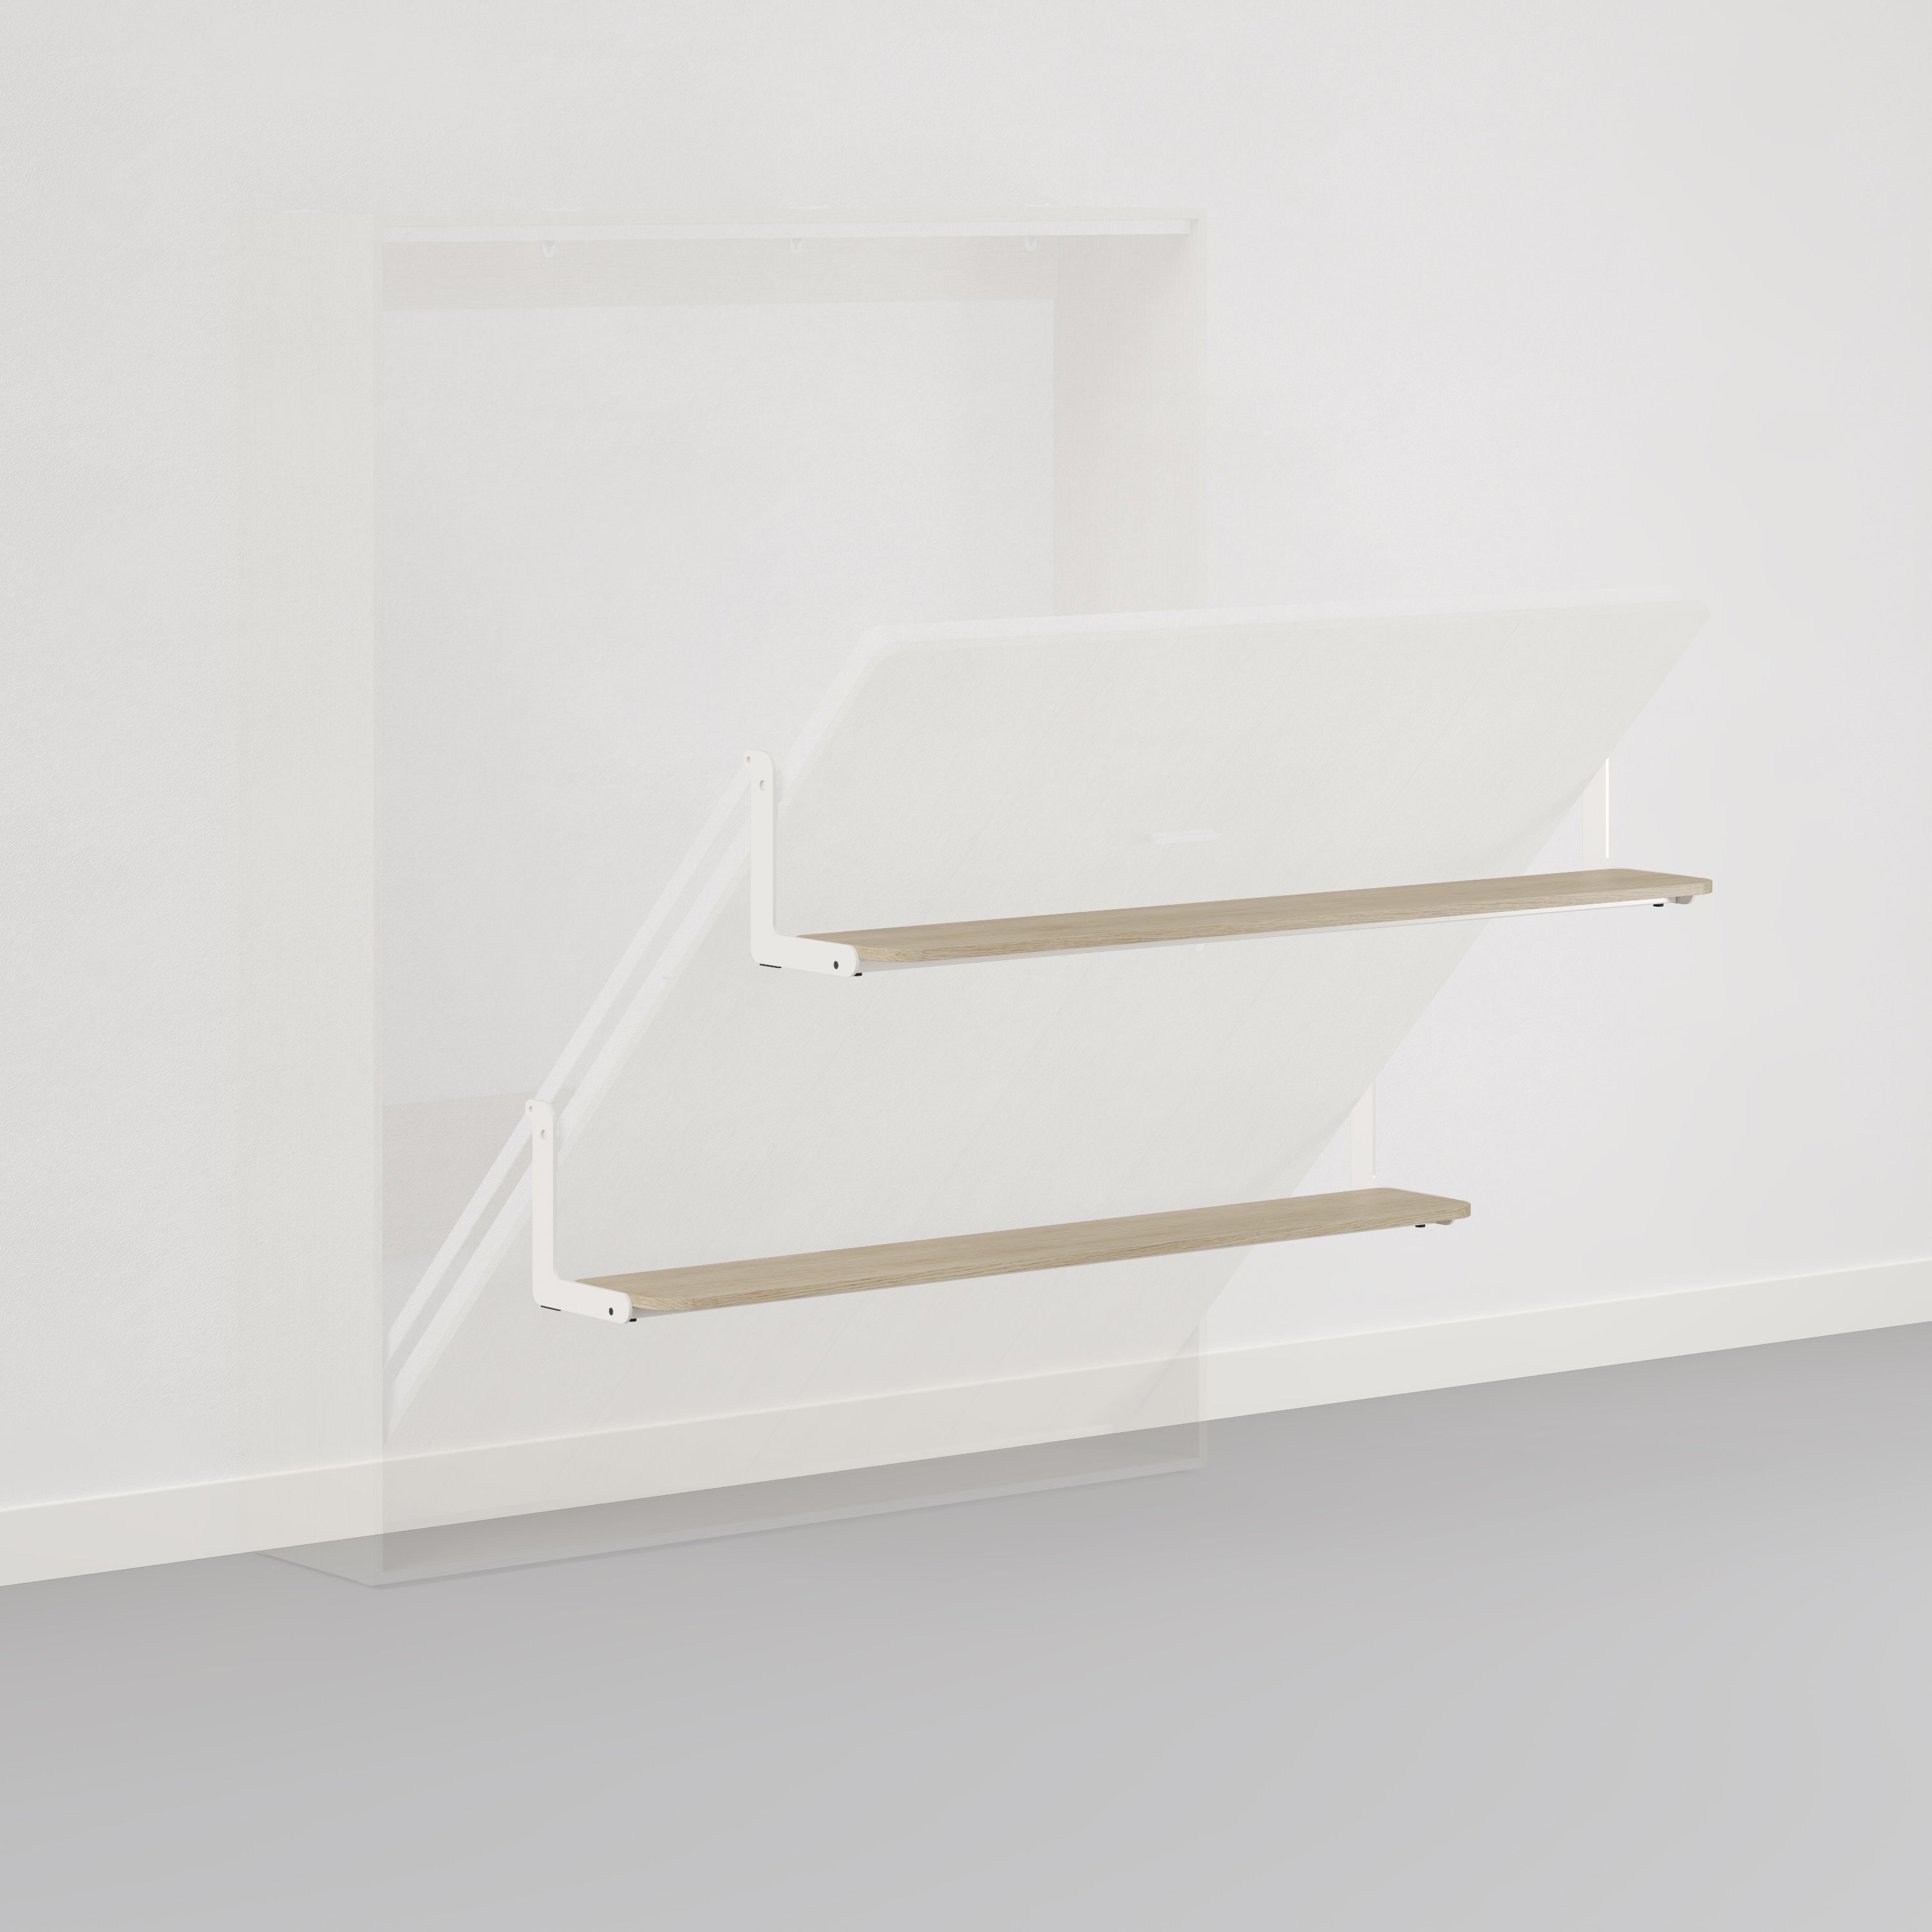
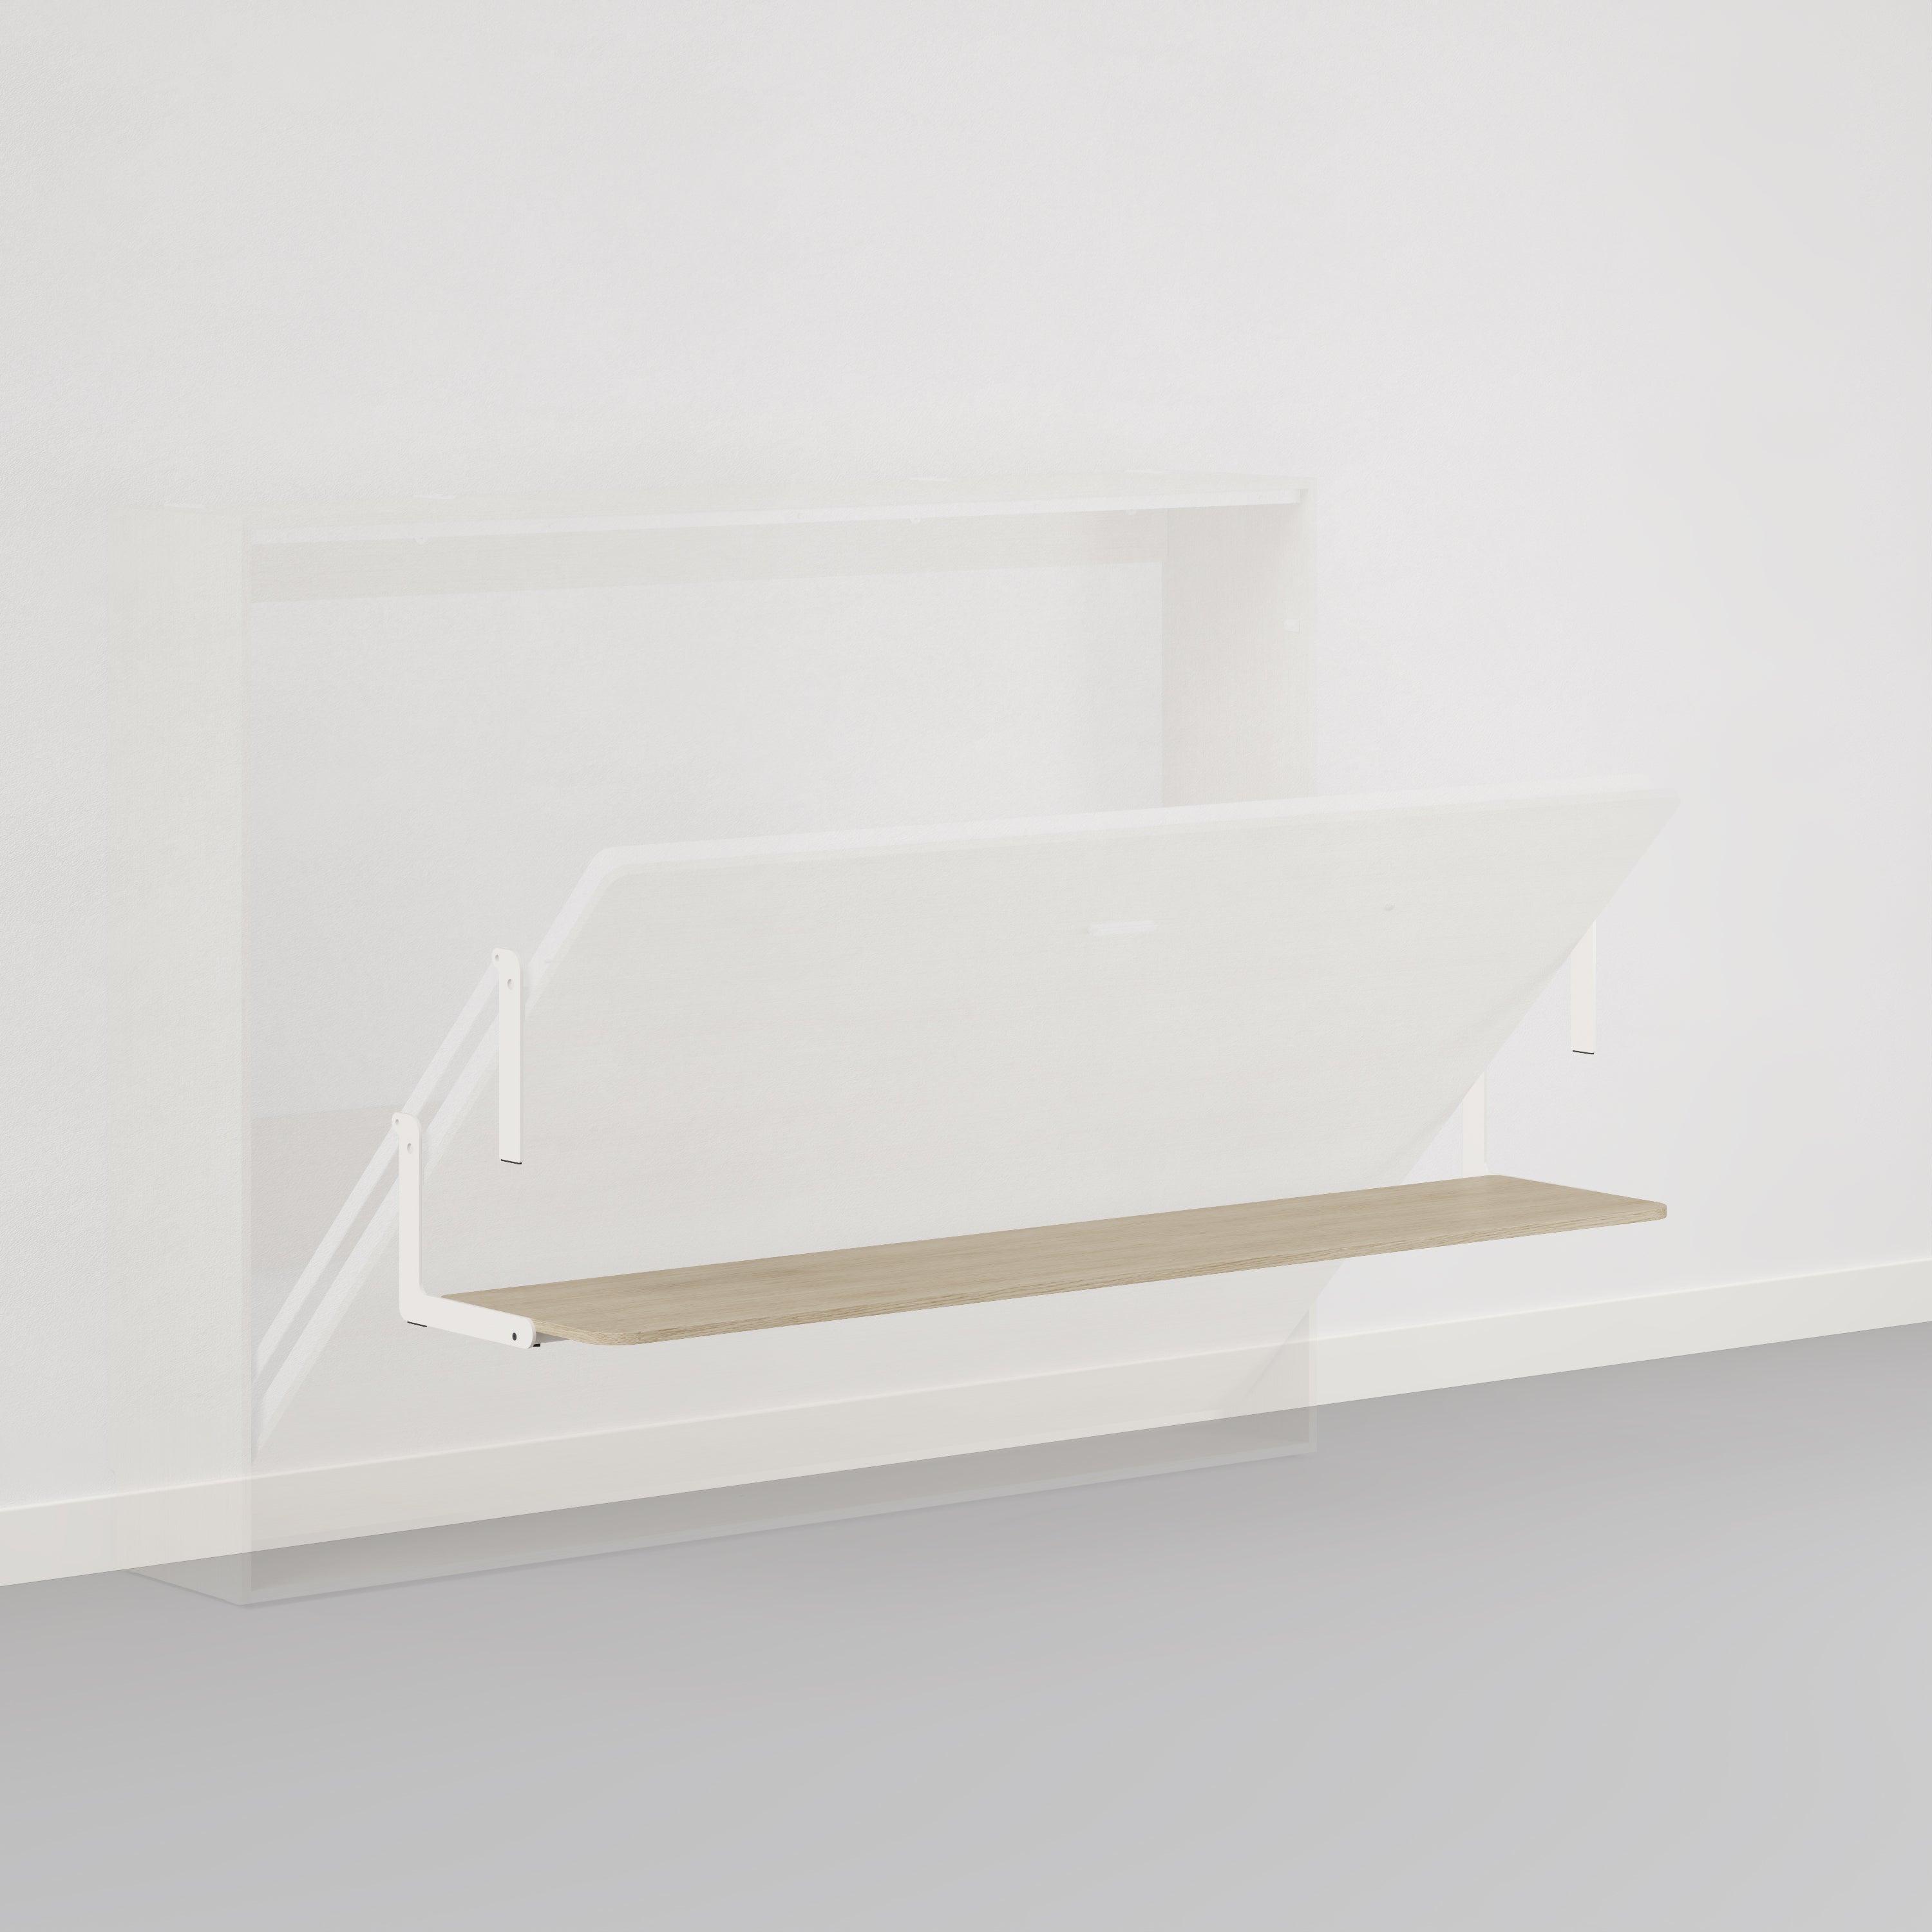
Headboard Shelf Assembly
The headboard shelf folds down when the bed is in use so you can place a lamp or alarm clock nearby. Connect the lower back brace and headboard shelf in three places using the shelf hinges and ½-inch screws in the predrilled holes.
You can use a bubble level to help ensure the shelf is level when installing it. Most smartphones also have leveling apps available for download. See our demo of this process in this assembly video.
Cabinet Assembly
A partner comes in handy during this step. Stand the cabinet sides on their edge. Then, the cabinet top is fitted into the spaces on the cabinet sides to create a 90-degree angle. Pre-drill and insert 1 ½-inch screws through the top and into the sides in six places. If you can angle the screws toward the cabinet sides slightly, it creates a stronger joint.
Place one cabinet brace into position flush with the cabinet top. Fasten the pieces with four pilot holes and 1 ½-inch screws into the cabinet sides at an angle (two at each end) and five screws through the cabinet top into the cabinet brace.
Next, predrill all your holes. Position the headboard shelf assembly into the notches in the cabinet sides, and attach with four pilot holes and 1 ½-inch screws at an angle. The head should fold down toward the ground naturally.
Attach the second cabinet brace by fitting it into the notches at the bottom of the cabinet sides and securing it with four 1 ½-inch screws at an angle. Again, pre-drill your holes.
Now you’re ready to stand your cabinet up against the wall.
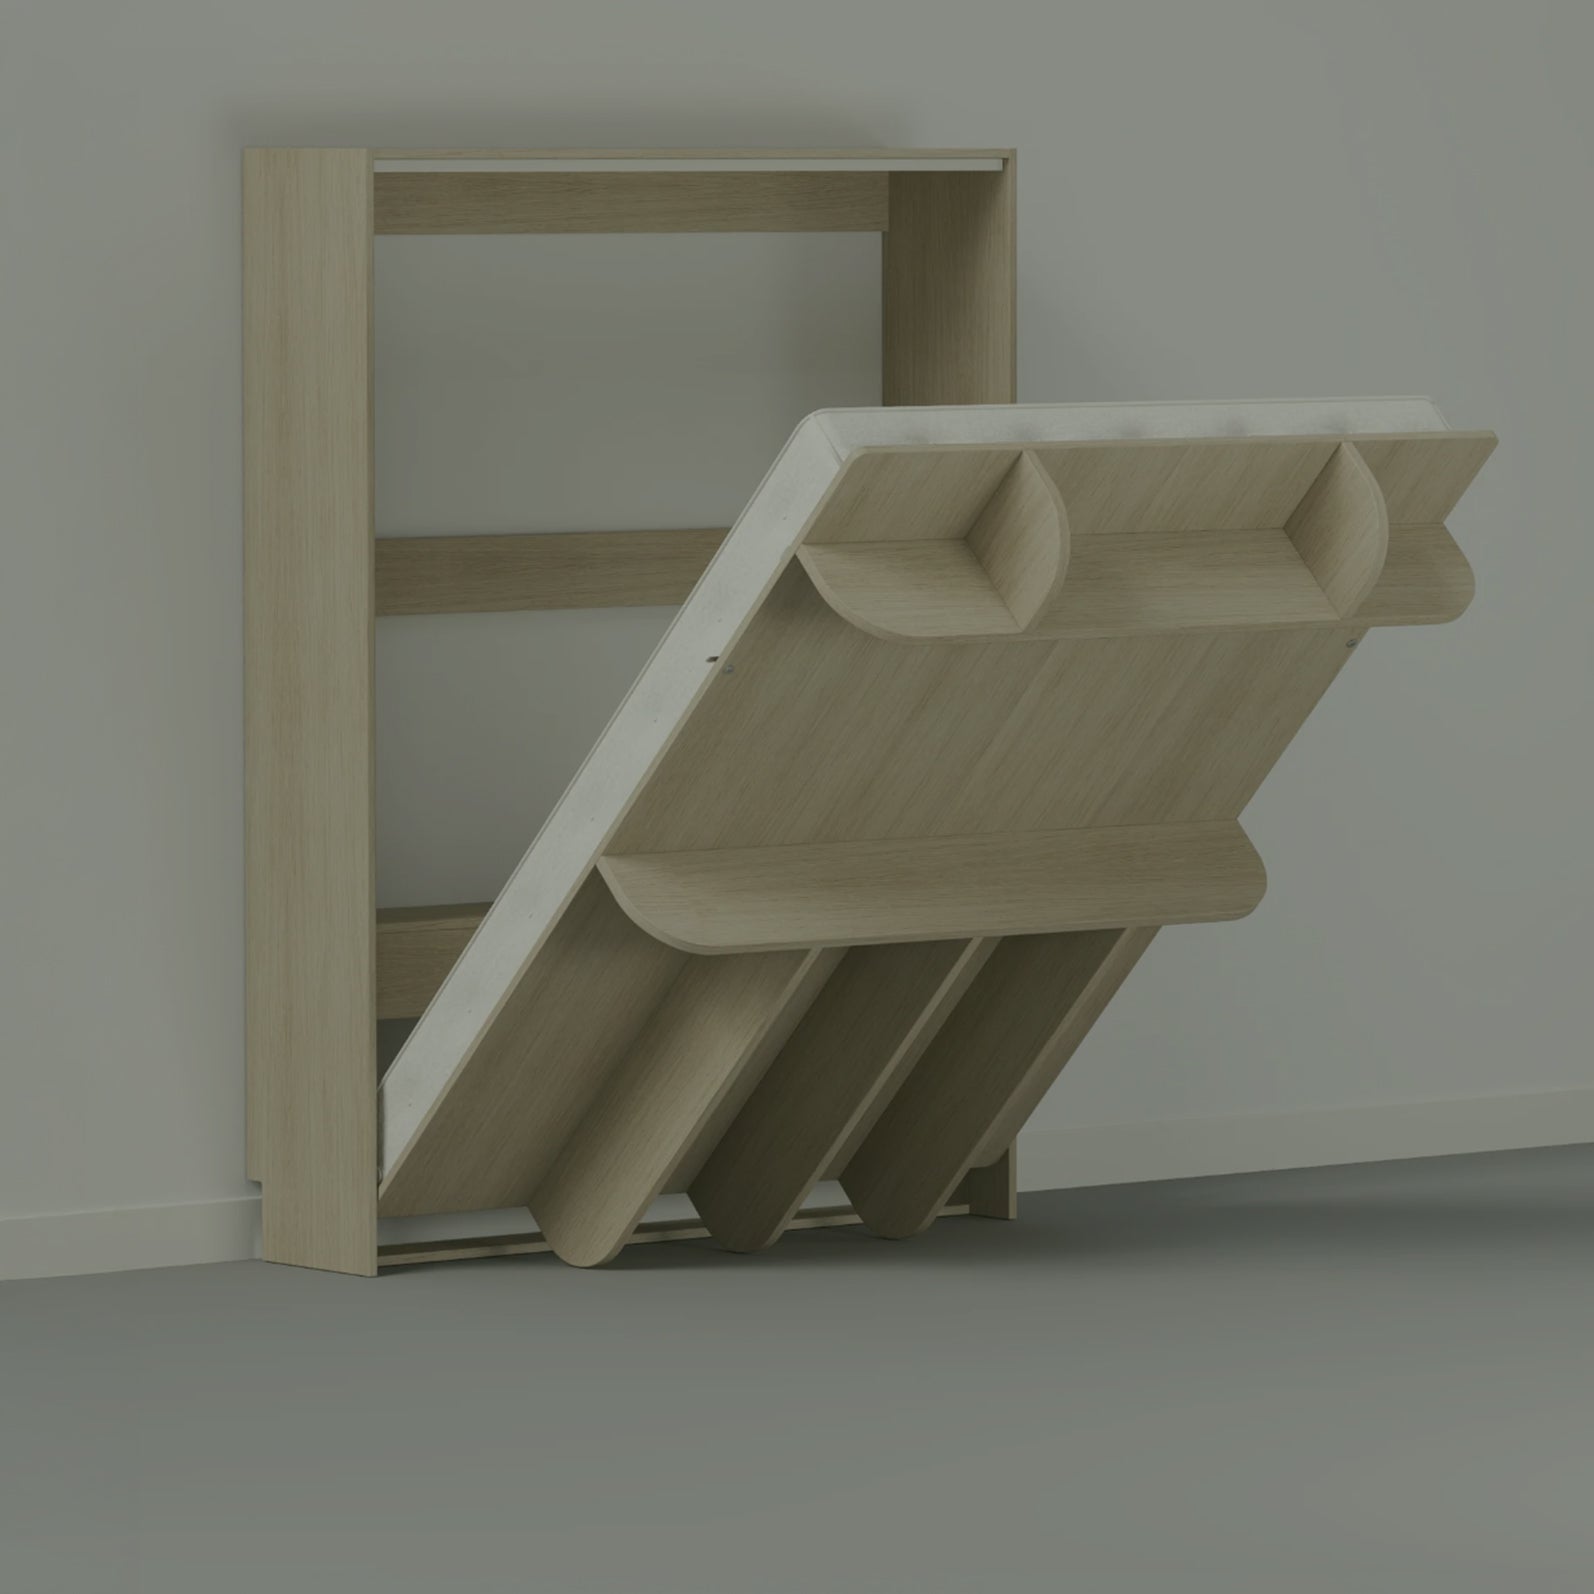
Bed Platform Assembly
Begin building the bed platform by arranging the shelf assemblies on the floor and the mattress panels. It's best to place the less attractive side facing up, as the mattress will cover it up. Note that the row of holes at one end of each mattress panel should be at the end near the rockers.
Adjust the pieces so everything lines up well before you begin adding screws. The holes in the edges of the shelves, rockers, and bullnoses should align with the holes in the panels. The bullnose and rockers should be flush with the ends of the panels, and the seams between the panels should rest right on top of them. The shelves should extend out evenly on each side by 1 3/8-inch.
Use 2 ½-inch wood screws to hold everything in place and won't shift around. Ensure the seams stay tightly together and are positioned over the centers of the bullnose and rockers. Then, add the remaining screws to secure it in place.
Attach Mattress Rest
If needed, flip the platform over with a partner, and position the mattress rest under the row of holes at the end of the platform, lining up with the holes in the mattress rest. Attach with 12 2 ½-inch washer head screws, starting with the screws on the ends.
(Head here next to learn more about how the Lori Bed works)
Purchase the best bed for your guest bedroom or Murphy bed project by clicking the button!
Attach Eye Bolts and Mattress Strap
Next, you'll attach the two eye bolt screws to secure the mattress strap. The bolts will pass through the hole in the platform and into the holes on the shelf.
To attach the strap, pass one of the looped ends through an eye bolt and then pass the buckle through the loop, pulling to tighten. Repeat on the other side, and adjust as needed to fit your mattress.
Install Locking Hardware
Your next bed-building step is to install your locks just below the upper shelf. The locks' crescent or half-moon-shaped movable part should be installed on the platform using the screws provided and the predrilled holes.
The other half of the lock (called the catch) should be installed on the cabinet sides. Use the screws provided, or use 1-inch screws.
Now, find the correct position for the catch. It should be as far as possible from the other half of the lock while still functioning well. Mark the holes you need to drill based on where the catch should be positioned, and then use the tiny drill bit provided to pre-drill the holes.
Consider whether your household would be better protected by padlocks, sliding bar latches, or other safety equipment.
(Along with this bed-building guide, we also have a wall bed-buying guide right here)
Mounting
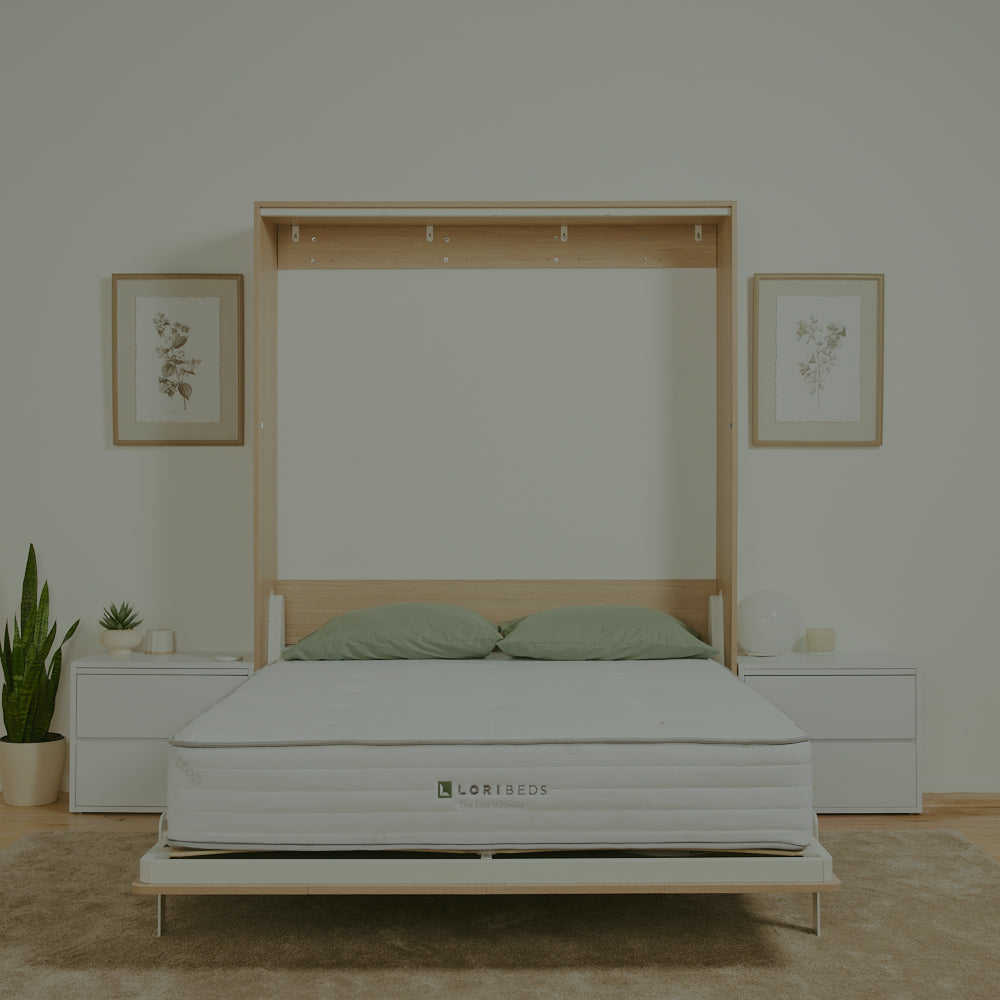
The first step for mounting the bed cabinet involves using a stud finder to locate the studs (the vertical, wood 2x4s) behind the drywall where you want to install your Murphy bed. Typically, studs are spaced out every 16 inches, though this may vary depending on how your house was built. To make it easy to locate, most electronic stud finders will beep once they discover the right spot to drill.
Next, mark the location of the studs on the upper bed brace. Grab screws and drill through the marked points to create a pilot hole through the brace and into the stud. Lori Beds provides large fender washers with ready-to-install kits, which provide lots of holding power. The washers should be fitted around the screw to further secure the bed's position to the wall.
Don't fully tighten your anchors until you are sure everything is where you want it. Small adjustments are helpful in the end. Once you have the position you desire, tighten them down.
If you plan on doing it yourself, you can always opt to build a DIY Murphy bed.
See the bed frame, Murphy bed cabinet, and bed hardware that suits your needs here!
Get Ready To Admire Your Bed Building Work
Building a Lori Bed typically takes two to four hours for one person working alone, though it can take less than two hours with the help of a partner. At Lori Beds, our mission is to put the wall bed within everyone's reach, so we've designed step-by-step plans that make assembling the Lori Bed a breeze for even a novice.
Each part of the process is detailed with pictures and explained in plain English. You can also follow along with our assembly video below to see how to assemble the bed, including how to mount a Murphy bed to the wall properly.
Now that you know the simple steps for installment, check out our variety of sizes, orientations, and finishes to fit your specific needs. Search our selection to get yours today.
Explore the Best Places to Buy Murphy Beds!
Did you learn a lot about bed building in this post? Here are three more posts to read next:
- Why You Should Add a Murphy Bed To Your Airbnb
- Want to Save Money When Renovating Your Home? Consider a Murphy Bed
- How Much Weight Can a Murphy Bed Hold?
This post was first published in 2020, but it was updated in 2024 just for you.


Leave a comment
All comments are moderated before being published.
This site is protected by hCaptcha and the hCaptcha Privacy Policy and Terms of Service apply.